
Airbnb photography checklist for hosts
Who is this checklist for? It was created for any homeowner preparing to list a property on Airbnb, Booking.com, or similar platforms. Whether you are planning to photograph the space yourself or hire a professional, the goal remains the same: to present your property in a way that feels clear, inviting, and trustworthy at first glance.
Strong visuals are often the deciding factor between a guest clicking on your listing or scrolling past it. When your photos communicate space, light, and atmosphere effectively, you attract more attention, build confidence, and increase the likelihood of bookings. This checklist is here to guide you through that process, helping you present your property at its full potential.
1. Decide: DIY or hire a professional
Choose whether you will photograph the property yourself or hire a professional.
If you hire a photographer, understand what you are truly paying for. It is not just a better camera. It is experience, trained observation, and a deep understanding of how spaces are perceived. A professional knows how light shapes a room, which angles make spaces feel open and inviting, and which small adjustments elevate the entire composition. These are subtle skills that take years to develop, and they directly influence how your listing is perceived by potential guests.
If you are considering working with a professional, explore our real estate photography services to understand how this approach can elevate your listing.
2. Prepare the house properly
Fully prepare the property before taking any photos. Even if the space already looks clean and organised, there is almost always something that can be improved. Small adjustments often make a significant difference in how the space feels in photos. For a complete step-by-step guide, refer to the article: How to prepare a house for a real estate photoshoot.
3. Balance natural and artificial lighting
Light is one of the most important elements in property photography. Bright, natural light makes spaces feel clean, spacious, and welcoming. Start by maximising natural light. Open all curtains and blinds to let daylight fill the space, and aim to shoot during the brightest time of the day. If possible, avoid harsh midday light, which can create strong shadows and contrast. Be mindful of artificial lights that introduce unwanted colour casts. If they clash with natural light, it is often better to turn them off.
At the same time, artificial lighting plays an important supporting role. Turn on lamps, bedside lights, and ambient lighting to create warmth and depth. Ensure all bulbs are working and consistent in colour temperature, so the space feels cohesive. The goal is not brightness alone, but a balanced atmosphere that feels comfortable and inviting.
4. Stage the space for a lived-in, welcoming feel
The goal is not to decorate heavily, but to suggest how the space feels to live in. Guests should be able to imagine themselves there.
You can achieve this through simple, thoughtful staging. Add cushions, throws, or textured fabrics to soften the space. Set the dining table in a minimal and clean way, suggesting a moment rather than a display. Place fresh towels in bathrooms, and incorporate plants or natural elements where appropriate. These small details help create a sense of comfort and experience.
At the same time, simplicity is essential. Remove personal items such as toiletries, photos, and paperwork. Clear surfaces like benches, tables, and shelves, and hide cables, bins, and unnecessary objects. A clean and uncluttered space feels larger, calmer, and more premium in photos.
5. Capture all key spaces
Guests want to understand the full layout and flow of the property. When important areas are missing, it creates uncertainty, and uncertainty often leads to hesitation. Make sure every relevant space is documented clearly, from main living areas to bedrooms, bathrooms, and outdoor spaces. Each image should help the viewer build a mental map of the property.
For a deeper guide on what to include, refer to the article: What photos every property listing should include.
6. Time your shoot intentionally
Timing can completely change how a property feels in photos. The same space can look flat and uninviting at one time of day, and warm and atmospheric at another. Consider shooting at different times, combining daylight images with softer golden hour light. Outdoor areas, in particular, often benefit from early morning or late afternoon light, when the sun is lower and shadows are softer. This type of light creates a more welcoming and emotionally appealing atmosphere.
Being intentional with timing allows you to present each space at its best, rather than relying on a single moment that may not suit every area.
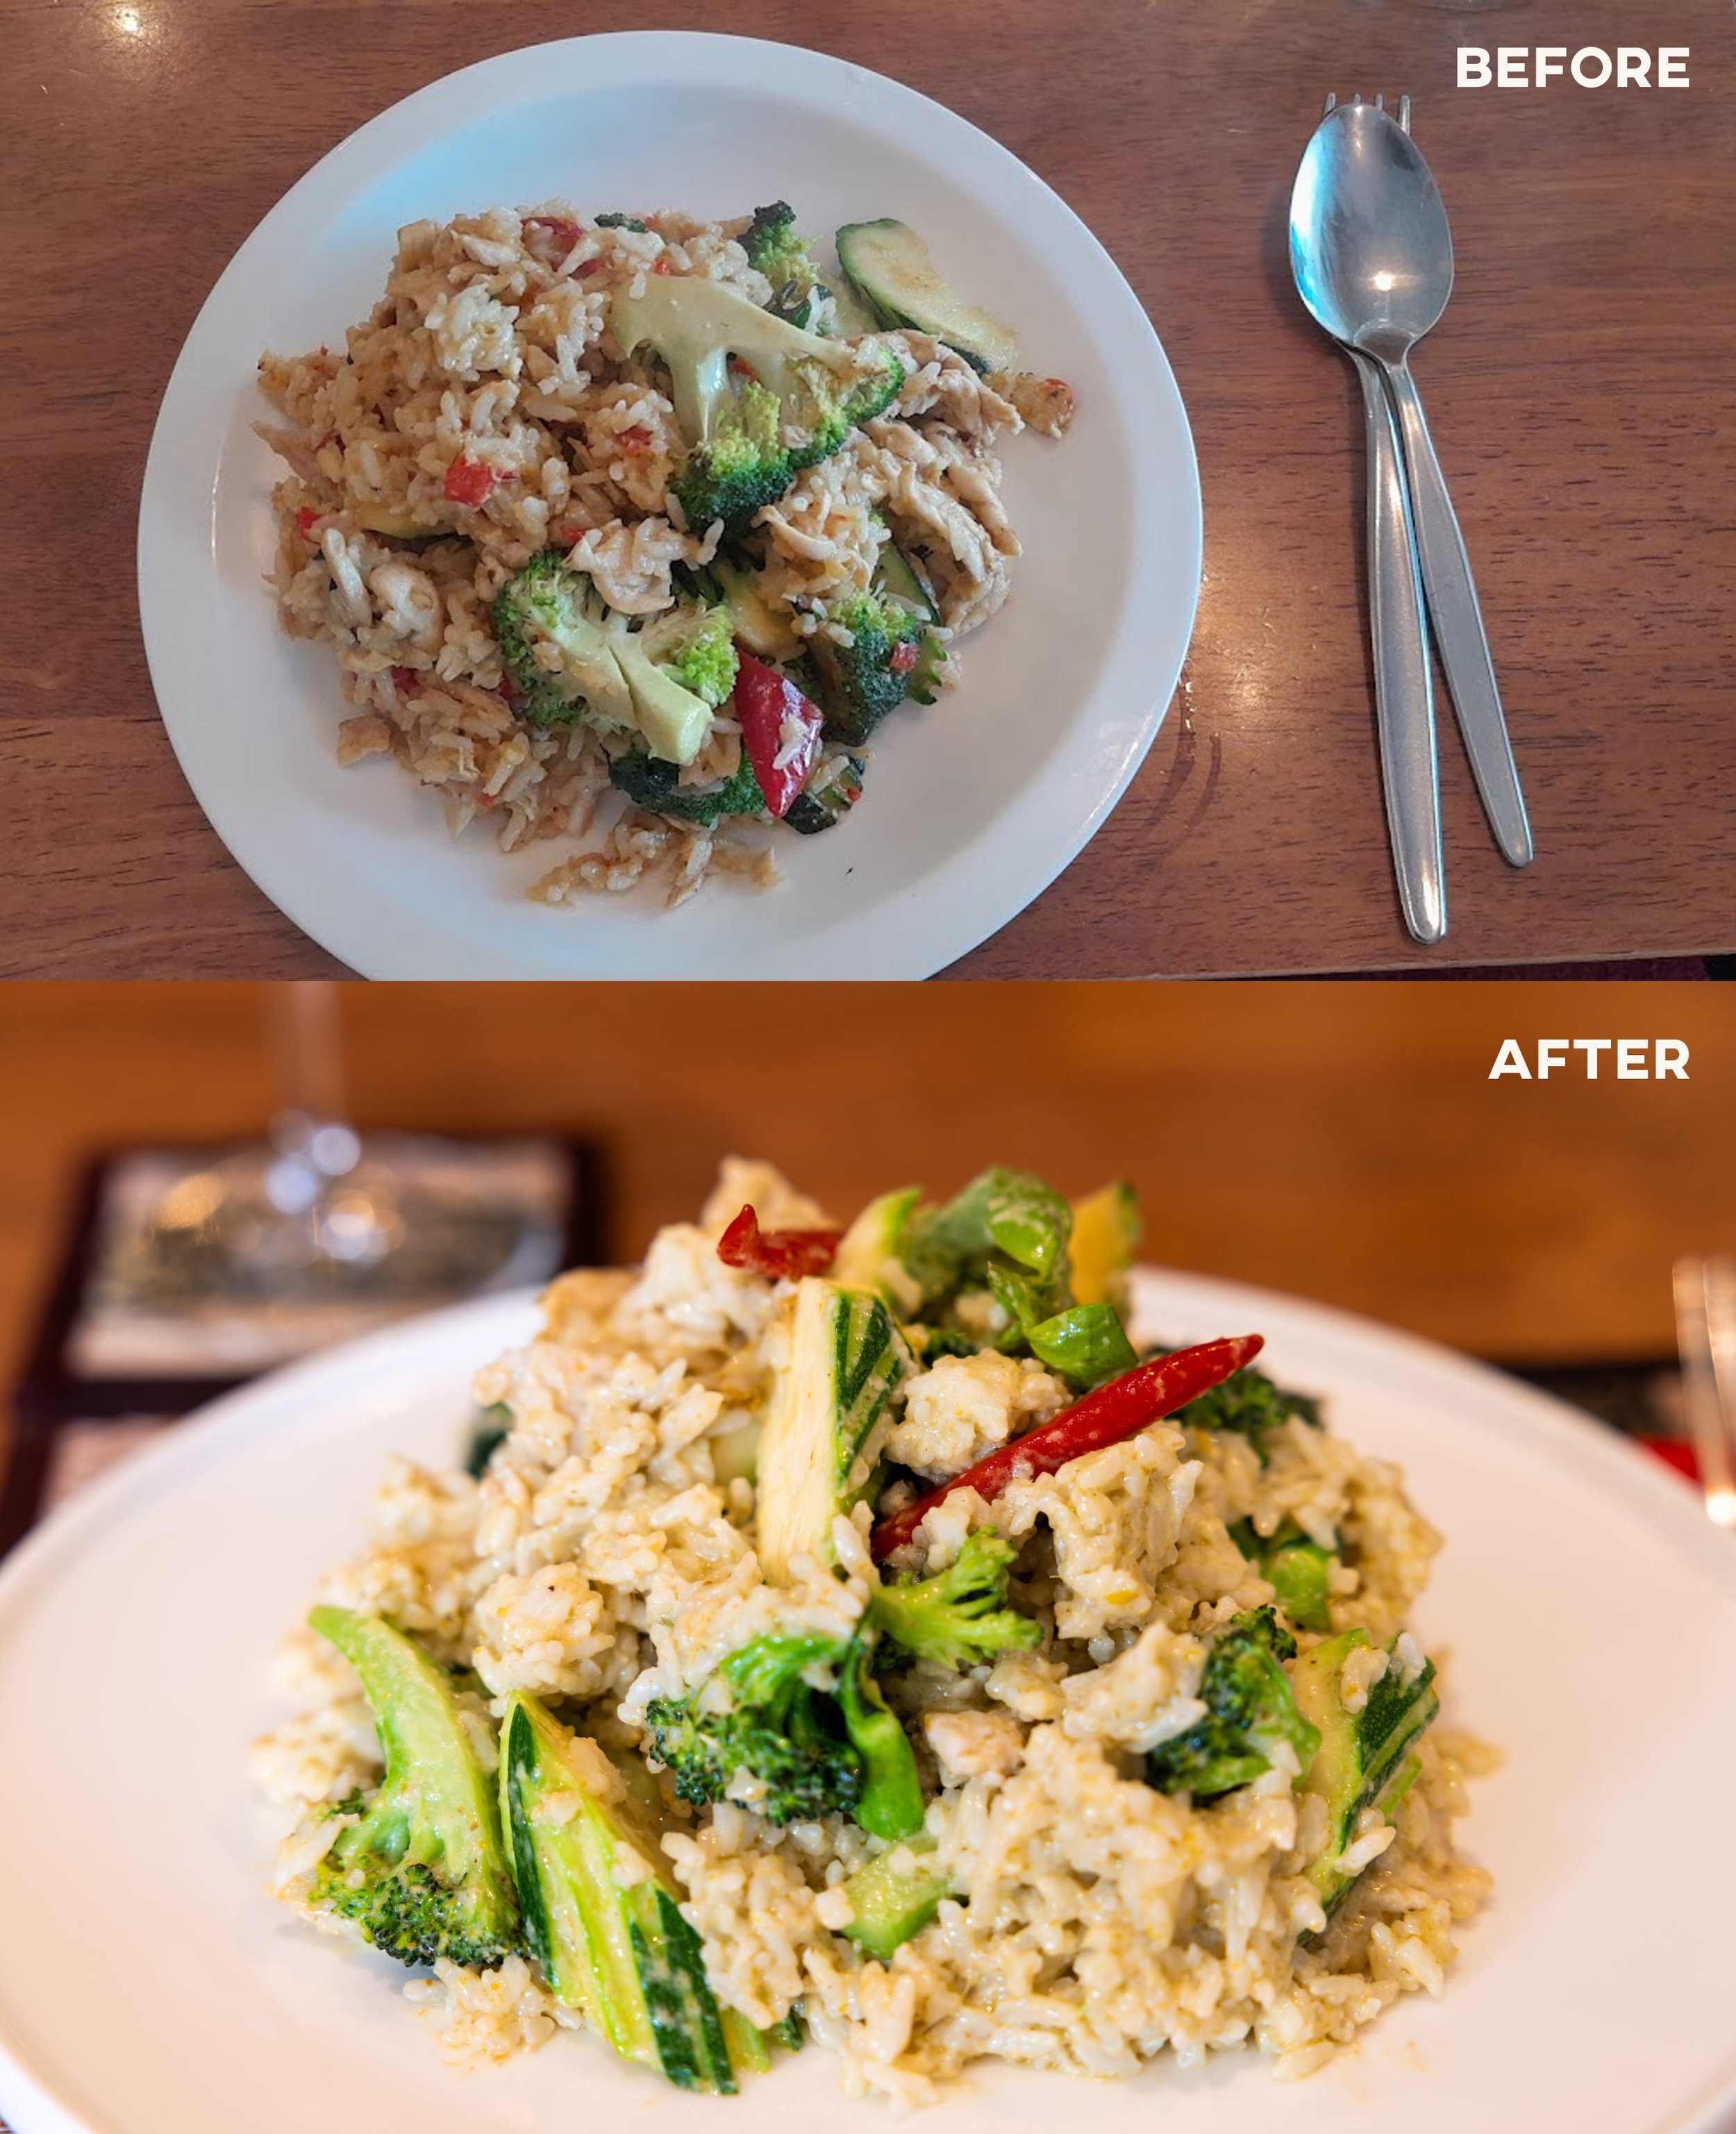
7. Edit carefully and realistically
Editing is an essential part of the process, but it should enhance reality, not distort it. Adjust brightness, contrast, and colour to ensure the space looks clean and balanced. Correct vertical lines and perspective so that walls and structures appear straight and natural. These technical adjustments make a significant difference in how professional the final images feel.
At the same time, avoid over-editing. Unrealistic colours, excessive saturation, or overly dramatic effects can create a misleading impression. Guests should feel that what they see in the photos matches what they will experience in person. The goal is honesty, presented at its best.
8. Select photos strategically for your listing
The way you select and organise your photos matters just as much as the photos themselves. Choose a strong hero image as your first photo, something that immediately captures attention and represents the property at its best. Then, organise the remaining images in a logical flow, guiding the viewer from the entrance through the living spaces, into bedrooms, and finally into details and secondary areas.
Avoid duplicates or repetitive angles, as they dilute the impact of your listing. Each photo should add new information. Together, they should tell a clear and cohesive story of the space.
9. Review from a guest’s perspective
Before publishing, take a step back and look at your listing as if you were the guest. Ask yourself: would I feel confident booking this place based on these photos? Look for anything that feels unclear, too dark, or slightly misleading. Make sure the space feels inviting, not just documented. This final review often reveals small adjustments that can significantly improve the overall impression.
Conclusion
A well-photographed property does more than show a space. It communicates a feeling, builds trust, and helps guests imagine their experience before they arrive.
Below is the full checklist for quick reference:
Decide: DIY or hire a professional
Prepare the house properly
Balance natural and artificial lighting
Stage the space for a lived-in, welcoming feel
Capture all key spaces
Time your shoot intentionally
Edit carefully and realistically
Select photos strategically for your listing
Review from a guest’s perspective
Before you begin, take a moment to explore our portfolio here. Seeing how different spaces are presented can offer clarity and inspiration, helping you approach your own property with a more intentional and refined perspective.

About the author: Thaíz Lara is the founder of New Hermits. With a background in marketing, photography, and video production, she creates purposeful visuals for businesses and individuals across New Zealand. Her work blends strategy with storytelling, guided by a detail-oriented approach to every place, person, and brand she documents. Learn more about Lara.
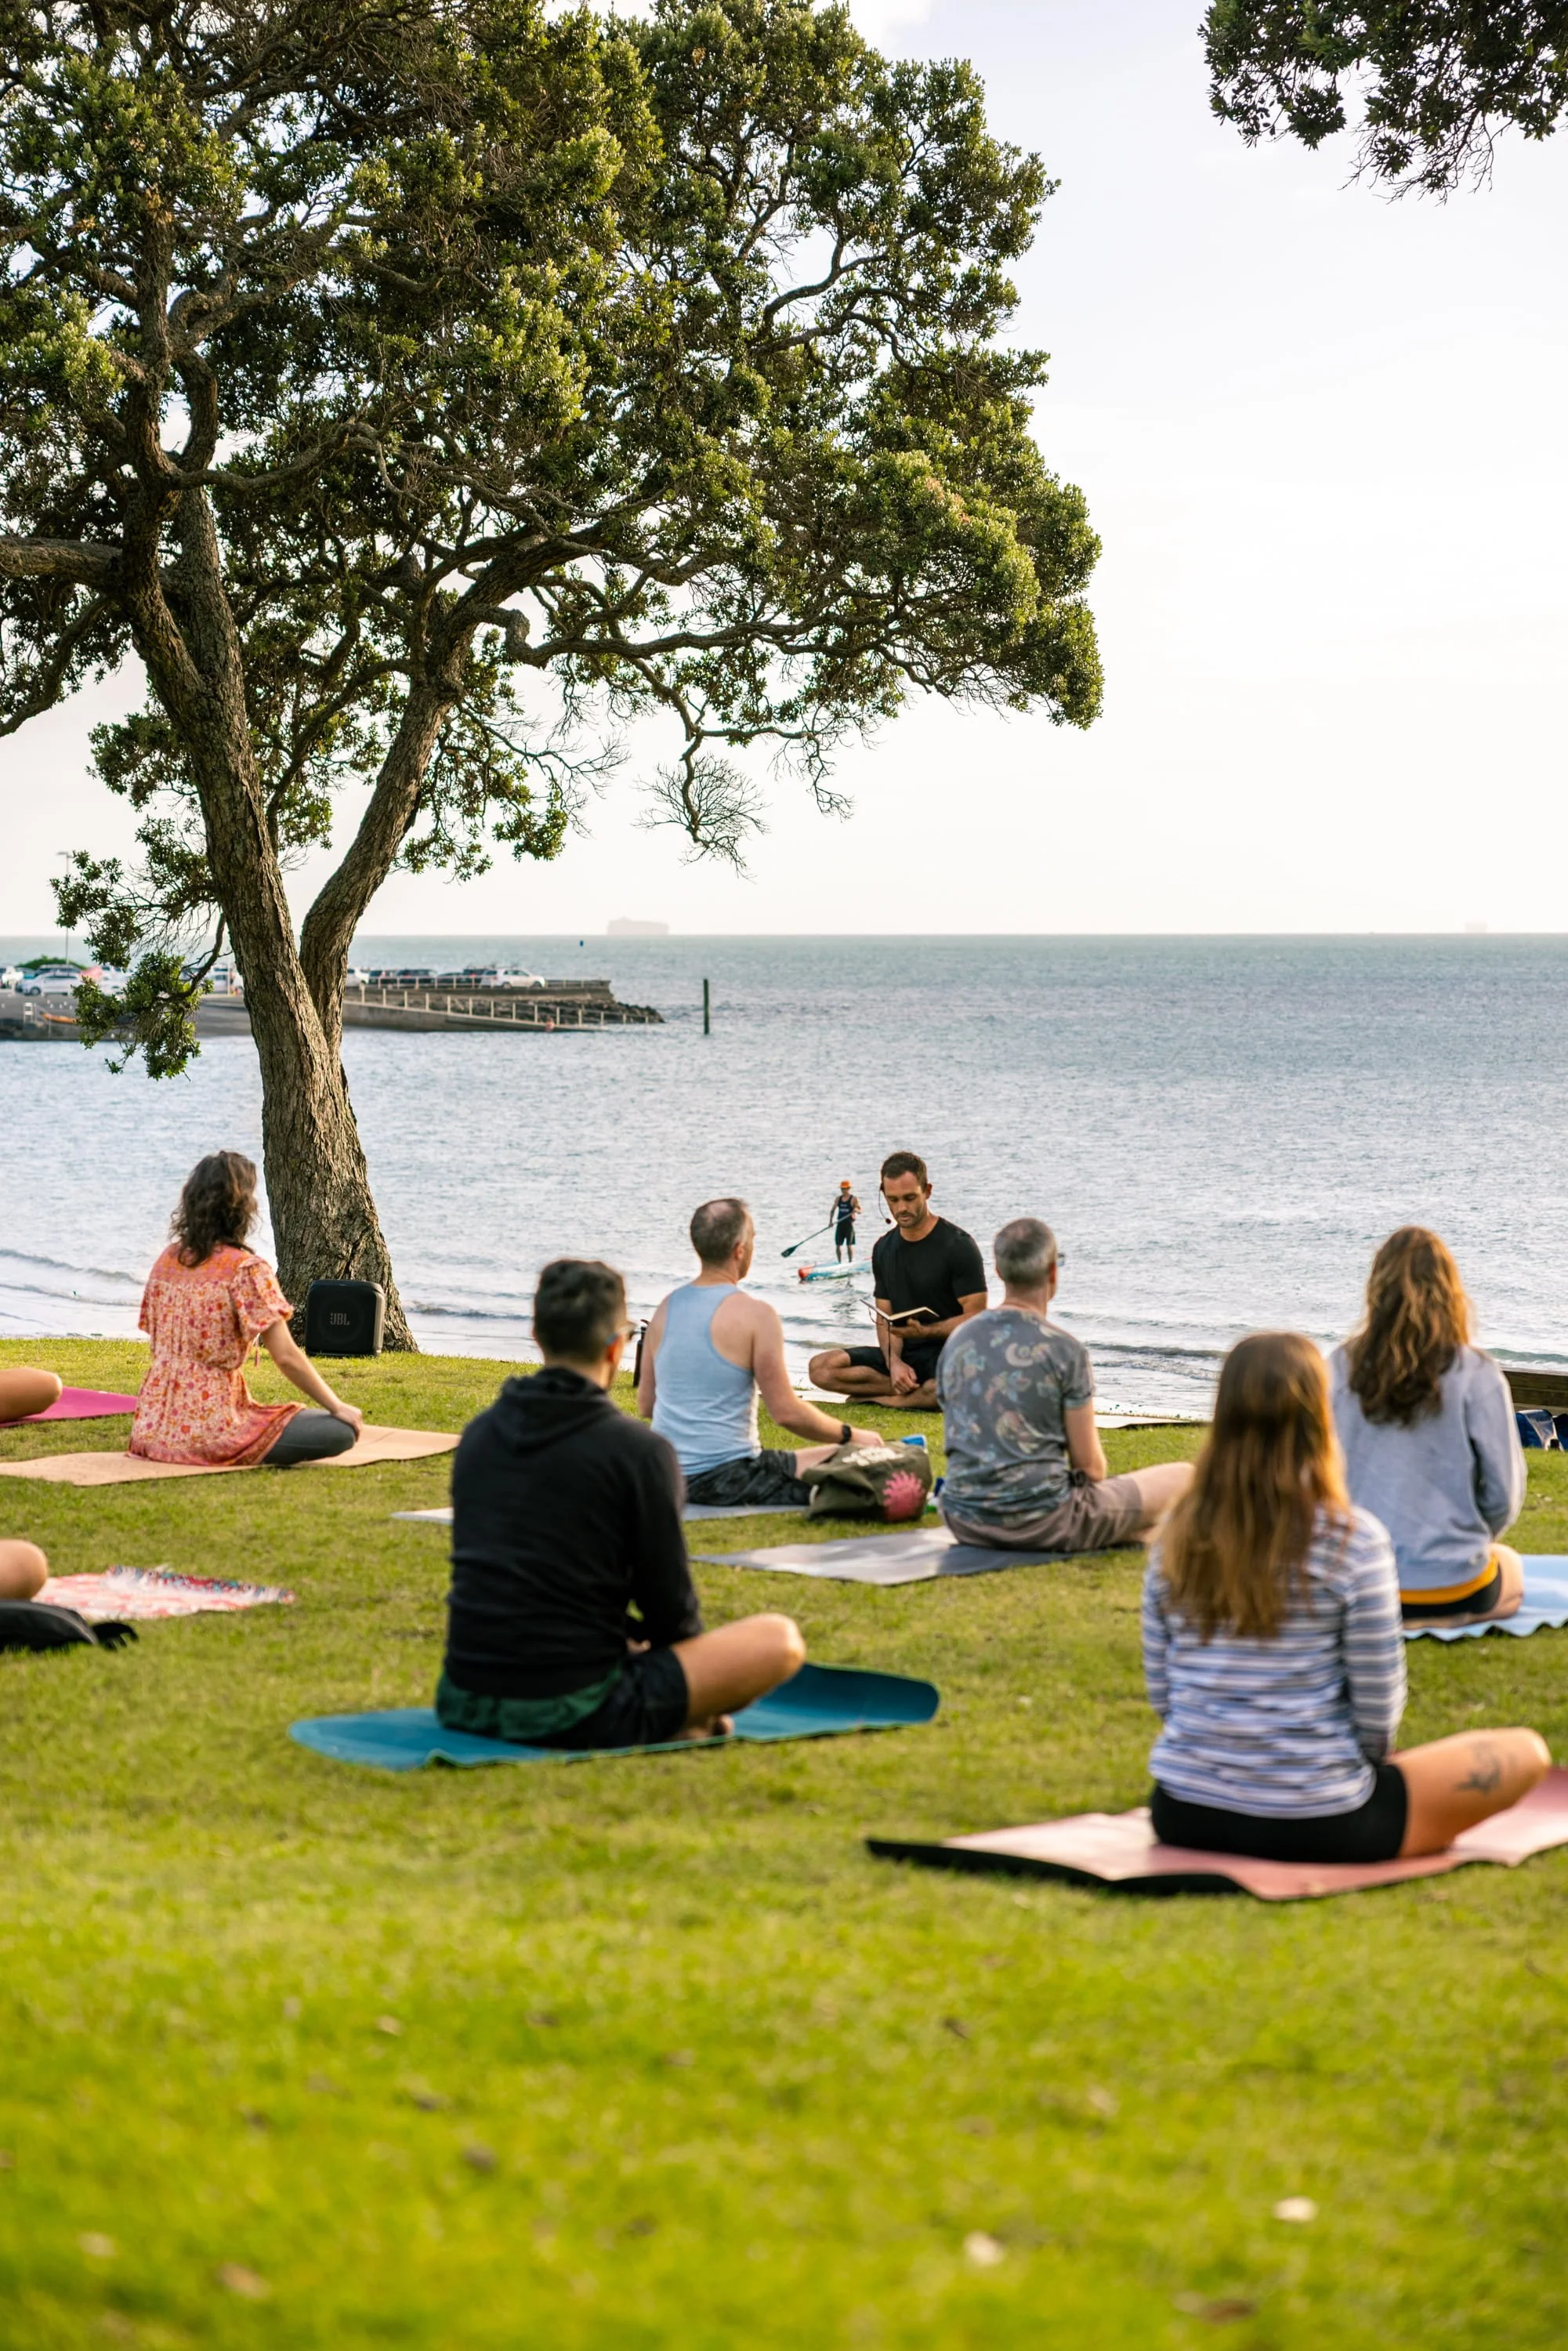
Discover the essential types of photos tour operators need to present their experiences clearly, build trust, and increase bookings. From hero images to social proof and activity flow, learn how to guide potential customers from curiosity to confidence.